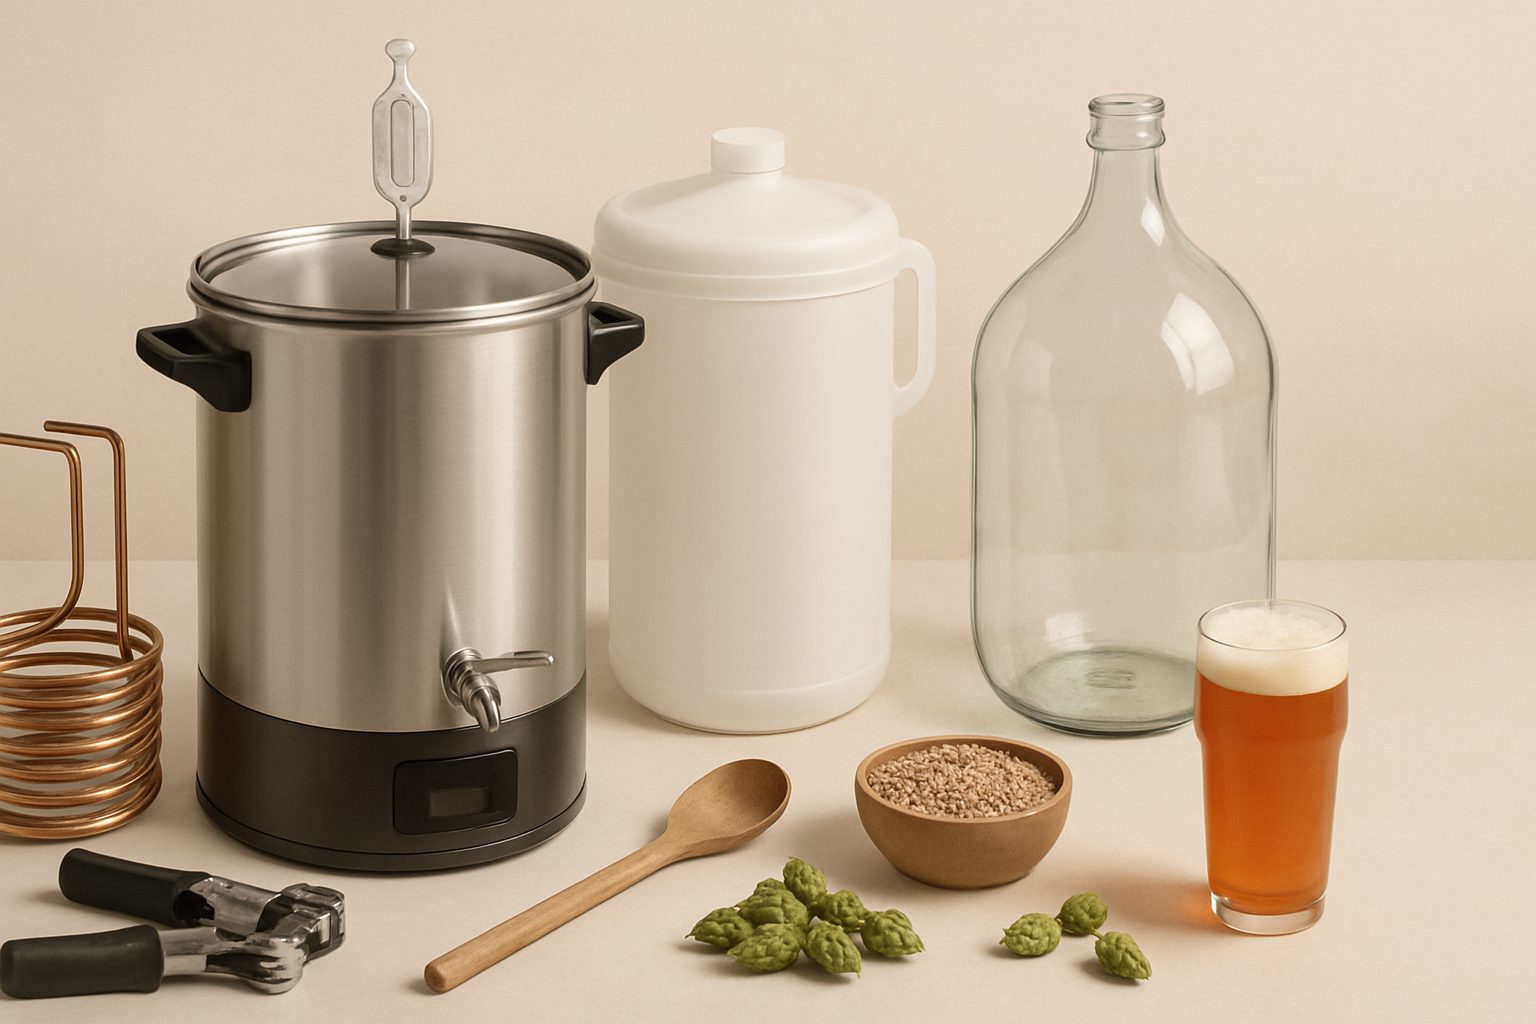
How to Clean & Maintain Your Home Brewing System UK: A Complete Care Guide
Keeping your home brewing system clean isn't optional—it's the difference between consistently good beer and batches ruined by infection or off-flavours. Whether you've invested in an all-in-one electric system or a traditional three-vessel setup, neglecting maintenance will cost you far more in wasted ingredients than you'll ever spend on decent cleaning supplies.
Why Cleaning Your Brewing System Matters
Your brewing equipment encounters grain dust, yeast residue, hop matter, and mineral deposits with every brew. Left to sit, these create biofilm—a sticky layer of microorganisms that harbouring wild bacteria and mould. Even meticulous sanitation during the brew day won't rescue beer if your equipment is already colonised.
All-in-one systems (like Grainfather, Brewzilla, or BraumeisterUK models) require particular attention. Their internal heating elements, false bottoms, and narrow pathways trap debris far more easily than open kettles. A single brewing session can leave spent grain flour lodged in corners you can't see.
Cleaning vs Sanitation: Know the Difference
Before diving into products, understand that cleaning and sanitation are separate steps—and you need both.
Cleaning removes physical dirt, grain residue, and organic matter using chemicals that dissolve buildup. Think of it as washing your dishes.
Sanitation kills microorganisms on already-clean surfaces, typically using no-rinse sanitisers. It's pointless to sanitise a dirty vessel—the gunk underneath will still harbour bacteria.
Most home brewers get this backwards, rushing to sanitise without properly cleaning first.
The Three Core Cleaning Agents
PBW (Percarbonate-Based Washers)
PBW, or Powdered Brewery Wash, is the industry standard for good reason. It's a gentle alkaline cleaner that breaks down burnt-on grain and yeast without damaging stainless steel or gaskets.
The process: Dissolve 15–30g per litre of hot water (around 60–70°C). Soak your equipment for 20–30 minutes, scrubbing as needed. PBW works best on warm surfaces—it's less effective in cold water. Rinse thoroughly with warm water until all white residue is gone; incomplete rinsing leaves a bitter alkaline taste in your next batch.
Pros: gentle, safe for most gasket materials, readily available on Amazon UK, cost-effective at roughly 1–2p per use.
Cons: requires hot water (increases utility costs), won't shift heavy mineral deposits alone, ineffective on dried-on residue more than a day old.
For all-in-one systems, circulate PBW solution through your pump and heating element, not just soaking the kettle exterior. Disconnect the false bottom or plug the drain valve and let solution run through the pipework—this is where nasties hide.
Star San (Iodine-Based Sanitiser)
Star San is a no-rinse sanitiser used after cleaning, not a primary cleaner. Many home brewers mistakenly rely on it as a substitute for proper cleaning, leading to slow buildup over months.
The process: Mix according to instructions (usually 1.25ml per litre) and spray or soak clean surfaces. It acts within 30 seconds and requires no rinsing. The foam that forms is still active—don't wipe it off before contact time is complete.
Pros: no-rinse, quick, leaves no chemical residue, long shelf life once mixed, ideal for last-minute sanitation before brew day.
Cons: genuinely ineffective at removing gunk, will fail if surfaces aren't already clean, can stain if left on cloth for days.
Use Star San between brew days on visibly clean equipment, never as your primary cleaning method.
Caustic Cleaners (Sodium Hydroxide)
For stubborn burnt deposits—particularly on the base of all-in-one systems—caustic cleaners pack serious punch. Products like Caustic Soda (easily sourced from brewing suppliers) dissolve protein and carbohydrate buildup that PBW alone cannot touch.
The process: Always wear gloves and eye protection. Mix 30–50g per litre of water. Soak for 30–60 minutes (longer for heavy deposits). For all-in-one systems, run the solution through heating elements carefully. Rinse exhaustively—caustic residue is genuinely dangerous and will burn your mouth.
Pros: dissolves deposits PBW won't touch, essential for annual deep cleans, relatively cheap.
Cons: corrosive (risks damaging aluminium components or old rubber gaskets), requires careful handling, unpleasant to work with, can discolour stainless steel if left too long.
Reserve caustic cleaning for quarterly or annual maintenance, not routine post-brew cleaning.
Your Post-Brew Cleaning Routine
- Empty and rinse immediately. Don't let grain residue dry. A quick hot-water rinse while everything is still wet prevents stubborn buildup.
- Soak with PBW. Fill your kettle or vessel with PBW solution (60–70°C) and let it sit for 20–30 minutes. For all-in-one systems, run the solution through the pump and heating element.
- Scrub problem areas. Use a soft bottle brush or cloth on internal surfaces. Avoid scouring pads on stainless steel—they scratch and trap bacteria in the grooves.
- Rinse thoroughly. Run hot water through the system multiple times until you see no white residue or suds. Under-rinsing is the most common mistake here.
- Air dry completely. Leave all components open to air overnight before storage. Damp equipment breeds mould.
- Final sanitation (optional). Before your next brew, spray clean, dry equipment with Star San. This is insurance, not a substitute for cleaning.
Maintaining All-in-One Systems Specifically
Electric systems need extra care. Never submerge the control box or heating element housing. Clean around these components with a damp cloth after removing detachable parts.
Check gaskets monthly—they harden and crack over time. A failing gasket will create dead spots where bacteria thrive and eventually cause leaks during the boil. Replacement gasket sets are cheap (£5–15); ignored gaskets are expensive in lost brews.
If your system has a three-part malt pipe or false bottom, inspect the seal regularly. Grain can lodge underneath, and a sealed-in grain chamber will rot and stink.
Common Mistakes to Avoid
- Storing equipment wet. Water pooling inside kettles grows mould within days.
- Skipping the PBW step. Jumping straight to Star San leaves dried gunk untouched.
- Over-relying on caustic cleaners. They're valuable for occasional deep cleans, but routine use degrades gaskets and seals.
- Rinsing with cold water. PBW and caustic work best in warm conditions. Cold rinses are inefficient.
Final Thoughts
Brewing system maintenance isn't glamorous, but it's the most reliable way to protect your investment and your beer. A £20 all-in-one system deserves 15 minutes of proper care after each use; a £300+ electric system demands it even more. Spend the money on decent PBW, keep caustic on hand for quarterly deep cleans, and your equipment will serve you reliably for years.
More options
- Grainfather G30 All-in-One Brewing System (Amazon UK)
- Brewzilla 35L All-in-One Electric Brewing System (Amazon UK)
- Home Brew Starter Kits (Amazon UK)
- Cornelius Keg & Home Draught Dispenser Systems (Amazon UK)
- Conical Fermenters & Fermentation Equipment (Amazon UK)