How to Brew an IPA at Home in the UK: Step-by-Step Recipe & Equipment Guide
Brewing an IPA at home is more achievable than you might think, even in the UK where water chemistry and ingredient sourcing differ from the US craft-brewing heartland. IPAs demand precision—particularly around hop timing and water profile—but the process itself sits comfortably within the reach of kit brewers and partial-mash brewers alike.
What You'll Need
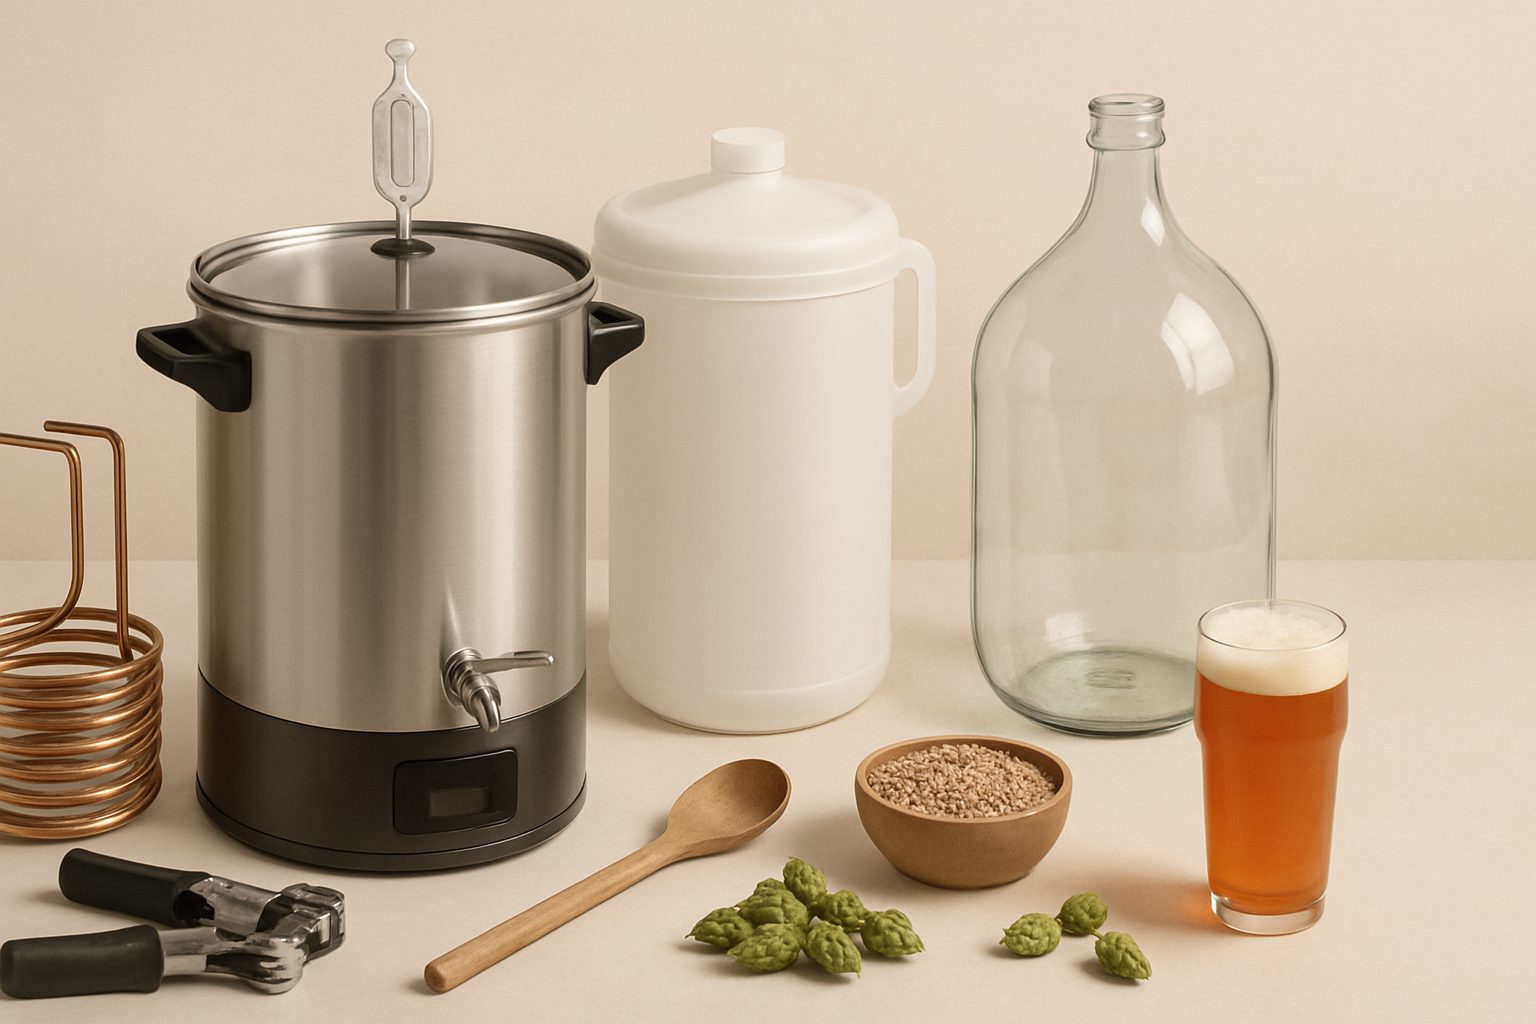
The entry point is straightforward. A basic all-in-one system (25–35 litres) will handle full-volume brewing, though extract or partial-mash kits offer a gentler learning curve. Beyond the vessel, you'll need a thermometer, a hydrometer, a stirring spoon (ideally stainless steel or plastic), and muslin or hop bags for pellets.
Fermentation temperature control is non-negotiable for IPA yeast. Most ale yeasts (Safale US-05, Wyeast 1056) perform best between 18–22°C. In a UK summer, this often means a fridge with a belt thermostat or a dedicated fermentation chamber. Without control, you risk harsh esters or stuck fermentation.
Hop storage matters more than other beer styles. Buy your hops days before brewing if possible, or store them vacuum-sealed in the freezer. Oxidised hops produce papery, cardboard notes—the opposite of the bright, resinous character an IPA should have.
A Simple IPA Recipe (23 Litre Batch)
This recipe works consistently across UK water and UK-sourced ingredients:
Grain (if mashing):
- 3.5 kg Pale Malt
- 0.4 kg Caramel 20L (for body, not sweetness)
Extract (if using liquid extract):
- 2.5 kg Pale Malt extract
- 0.3 kg Caramel malt steeped at 66°C for 20 minutes
Hops:
- 15g Magnum (60 mins) – bittering foundation
- 10g Centennial (15 mins) – flavour
- 15g Cascade (5 mins) – aroma
- 20g Cascade (dry-hop, 7 days) – final punch
Yeast:
- 1 x Safale US-05 sachet (or equivalent)
Water: See the water profile section below before adding salt or adjustments.
Expected metrics:
- Original gravity: 1.055–1.060
- Final gravity: 1.012–1.015
- ABV: ~5.5–6%
- IBU (bitterness): ~42
Water Profile Matters
UK water varies wildly by region. London's chalky supply, Scottish soft water, and Burton's gypsum-rich profile all produce different results. IPAs benefit from slightly elevated sulphates, which heighten hop bitterness and dryness.
If brewing in a soft-water area (Edinburgh, Cardiff), add 1.5 teaspoons of gypsum to your brewing water. In moderately hard areas (Birmingham, London), little or no adjustment is needed. Test your tap water's mineral content (many councils publish this), or use a simple water report calculator from Palmer or EZ Water.
Chlorine in tap water can create off-flavours when oxidised by hops. If your water is heavily chlorinated, let it sit 24 hours before use, or use a basic carbon filter jug.
Hop Schedule and Timing
The hop schedule is where IPA character lives.
60-minute bittering charge: Add your highest alpha-acid hops at the start of the boil. Magnum or Pioneer work well; they're clean and don't muddy flavour. This establishes bitterness without hop character.
Flavour addition (15 minutes remaining): A medium alpha-acid hop (Centennial, Challenger) adds woody, slightly spicy notes. Aim for 3–4 IBU.
Aroma addition (5 minutes or flameout): Cascade or a UK-friendly alternative like Admiral gives the hop aroma without aggressive bitterness. Some brewers add this at flameout (when heat is off) to preserve volatile oils.
Dry-hopping: This is the signature IPA move. After fermentation finishes (gravity stable for 3 days), add hop pellets directly to the fermenter. Use 15–25g per batch. Leave them for 5–7 days; longer than that risks grassy or vegetal character. Cascade, Centennial, or UK-grown Admiral all work.
The Brewing Process
Mash (if grain brewing): Heat water to 67°C, stir in crushed malt, hold for 60 minutes at 65–68°C. Stir occasionally. Run off slowly into your kettle, sparging with 77°C water until you've collected roughly 28 litres.
Extract: Dissolve malt extract in hot water gently, stirring to avoid clumping. Add to your kettle.
Boil: Once at a rolling boil, add the 60-minute bittering charge. Boil hard for 60 minutes, managing foam with a drop of olive oil if needed. Add flavour at 15 minutes remaining, aroma at 5 minutes. At flameout, chill to 20°C rapidly (an ice bath, or immersion chiller if you have one).
Pitch: Pour into fermenter, aerate by stirring vigorously or splashing, then pitch yeast. Seal with an airlock.
Fermentation: Keep at 19–20°C. Primary fermentation takes 7–10 days; you'll see vigorous activity for the first 3–4. After gravity stabilises, rack to a secondary fermenter or add dry hops directly to primary.
Packaging: After dry-hops, let settle for 2 days. Siphon into a bottling bucket, add priming sugar (roughly 2.5g per litre for 2.5 volumes CO₂), bottle, and leave at room temperature for 2–3 weeks. IPAs are best drunk fresh—within 8–12 weeks of packaging.
Practical Tips for UK Brewers
Temperature control during UK summers is the most common failure point. If you can't maintain 18–22°C, wait until autumn or invest in cooling.
Buy quality yeast from a UK supplier with rapid post-dispatch times; old or warm-shipped yeast can struggle. Fermentis Safale US-05 is widely available and reliable.
Don't obsess over tiny recipe tweaks your first time. Consistency matters more than perfection. Once you've brewed the same recipe three times, you'll know exactly where to adjust for your kit and water.
An IPA made with basic all-in-one equipment and standard UK ingredients will be recognisably good—hoppy, dry, balanced, and miles ahead of extract-kit beer from a decade ago. It's a genuinely rewarding first venture into real brewing.
More options
- Grainfather G30 All-in-One Brewing System (Amazon UK)
- Brewzilla 35L All-in-One Electric Brewing System (Amazon UK)
- Home Brew Starter Kits (Amazon UK)
- Cornelius Keg & Home Draught Dispenser Systems (Amazon UK)
- Conical Fermenters & Fermentation Equipment (Amazon UK)