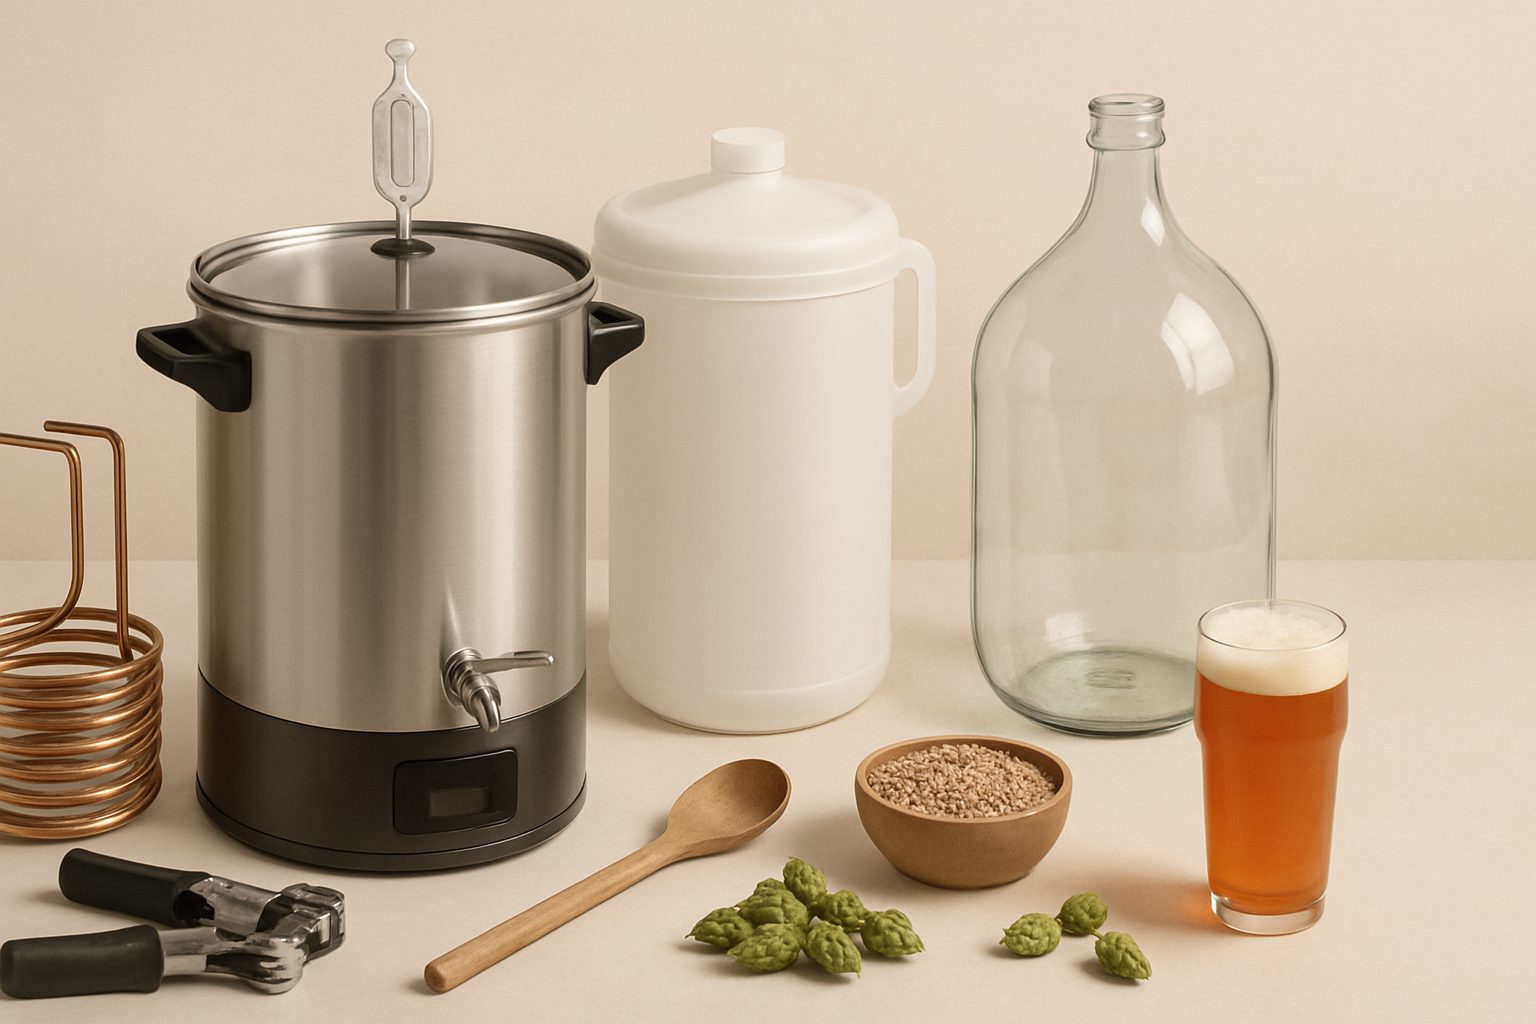
Best Home Brewing Systems for Small Flats & Apartments UK: Compact Kits That Actually Work
Brewing your own beer doesn't require a garden, garage, or dedicated room. Thousands of UK flat dwellers brew successfully in kitchens, bathrooms, and under-stairs cupboards—but it demands the right equipment and realistic expectations about noise, smell, and space.
This guide covers what actually works in compact homes, focusing on systems under 20 litres that don't dominate your living space or upset your neighbours.
Why small-space brewing is genuinely different
Standard homebrew setups assume you've got room to sprawl. Multi-vessel systems, large fermentation vessels, and grain-milling equipment demand floor space, ventilation, and tolerance for extended boiling cycles. Flats have none of these luxuries.
The real constraints are:
- Heat generation. Boiling 20+ litres creates steam that condenses on windows and walls. In a flat with minimal ventilation, this becomes problematic within minutes.
- Noise. Pumps, chillers, and boiling water are louder than you'd expect. Thin walls mean your neighbours notice.
- Smell. Malt, hops, and fermentation aromas are intense and persistent. They'll linger in corridors and neighbouring flats for days.
- Storage. Bottles, kegs, and equipment need permanent homes. A modest 10-litre fermentation vessel takes up a significant chunk of a typical bathroom.
The good news: modern compact systems address these constraints directly.
What size actually matters
Sub-20-litre systems are the practical ceiling for flat brewing. Below that threshold:
- Boils fit standard kitchen hobs without overflow risk
- Fermentation vessels fit standard fridges or under-bed storage
- Steam output is manageable with a single open window
- You can realistically brew every two to three weeks without fatigue
A 10-litre batch yields roughly 16 standard bottles or 8 pints of reasonable strength beer. That's a realistic yield for a flat dweller: enough to share or enjoy over a month without requiring permanent storage infrastructure.
Countertop all-in-one systems
Devices like the Grainfather Nano, PicoBrew Pico, and similar all-in-ones consolidate mashing, boiling, and cooling into single units. The advantages are obvious:
- Minimal heat release (insulated vessels, contained boils)
- Integrated control systems remove guesswork
- Compact footprint—many fit on a standard kitchen worktop
- Faster brew days (four to six hours start to finish)
The honest drawbacks:
- They're expensive. Entry-level systems start around £600–900; mid-range sits at £1,200–2,000.
- They're locked ecosystems. You're committed to the manufacturer's malt varieties, recipes, and equipment tie-ins.
- Repairs are often proprietary and costly if something fails outside warranty.
- Learning curve is shallower but less rewarding if you enjoy the traditional brewing process.
These suit people who want consistent results quickly and have capital to invest upfront.
Manual extract and partial-mash brewing
Simpler, cheaper alternative: extract-based brewing with a stainless steel brew kettle (10–15-litre) and fermentation bucket.
Extract brewing skips the mashing phase entirely. You buy pre-mashed grain extracts, add them to water, boil with hops, cool, pitch yeast, and ferment. The process takes two to three hours active work.
Advantages:
- Total setup cost under £150–300 for decent equipment
- Much less heat and steam than grain brewing
- Easier to experiment and adjust recipes
- Storage is minimal: one bucket, one kettle, a few bottles of extract
Disadvantages:
- Extract beer tastes different from all-grain—often slightly less dry and more muted flavours
- Limited recipe variability
- Still noticeable smell during fermentation
This is the realistic starting point for flat dwellers on a budget.
Managing smell and steam
No system eliminates odour entirely, but you can reduce it substantially:
During boil: Boil outdoors if you have a balcony and a portable camping stove. If you must use your kitchen hob, boil for the minimum time required (90 minutes instead of two hours where recipes permit), use an extractor hood at full power, and open all available windows. A boil outside the flat cuts indoor smell by 80–90%.
During fermentation: Fermentation smell is slower and lower-intensity than boiling but lasts longer (five to seven days). Keep the fermentation vessel in the coldest, most ventilated room available—a bathroom with an extractor fan running is ideal. Seal any gaps around the door.
Yeast selection: Low-attenuation yeasts (which produce fewer aromatic compounds) smell less than high-attenuating varieties. London III and California ale yeasts are reliable and quieter than Belgian or wheat varieties.
Temperature control: Cooler fermentation (16–18°C instead of 20–21°C) produces less volatile aroma. A spare fridge or a temperature-controlled cupboard with an inkbird controller is a worthwhile investment if you're serious.
Realistic expectations
Flat brewing produces better beer than shop-bought ales at a fraction of the cost—but it's not a seamless experience. You'll manage steam, smell, and the occasional surprised neighbour. If you're willing to be considerate about timing and ventilation, it's entirely workable.
Start with extract brewing and a basic kettle. If you enjoy it after three or four batches, invest in an all-in-one system or move to partial-mash brewing. Most flat brewers find extract plus a fermentation fridge and simple kettle is the practical sweet spot: good beer, low cost, minimal disruption.
More options
- Grainfather G30 All-in-One Brewing System (Amazon UK)
- Brewzilla 35L All-in-One Electric Brewing System (Amazon UK)
- Home Brew Starter Kits (Amazon UK)
- Cornelius Keg & Home Draught Dispenser Systems (Amazon UK)
- Conical Fermenters & Fermentation Equipment (Amazon UK)