All-Grain Brewing for Beginners UK: A Step-by-Step Guide to Your First Mash
All-grain brewing sounds intimidating, but it's a logical progression for home brewers who've mastered extract and partial-grain brewing. Rather than boiling pre-made malt extracts, you're mashing whole grains to convert their starches into fermentable sugars—the same process commercial breweries use, just in your kitchen or garage.
The payoff is worth it: better flavour control, lower ingredient costs at scale, and the satisfaction of brewing from actual grain. Yes, it takes more time and kit. But a first all-grain batch is entirely achievable with decent equipment and a methodical approach.
Why Move to All-Grain?
Extract brewing is convenient, but all-grain opens the door to recipe flexibility. You choose exactly which malts go into your beer, in what proportions, rather than working within the bounds of available extracts. You'll notice the difference in body, colour, and subtle flavour notes that extract simply can't replicate.
The malt costs are also lower—milled grain typically runs £0.50–£0.80 per kg, versus £15–£25 per kg for equivalent extract. If you're brewing 10–15 times a year, that adds up quickly.
The downside: all-grain brewing takes 5–7 hours from grain to fermenter, versus 2–3 for extract. Your brewing space needs to accommodate a larger water volume, and temperature control matters more. But it's not difficult—just methodical.
Essential Kit for Your First Brew
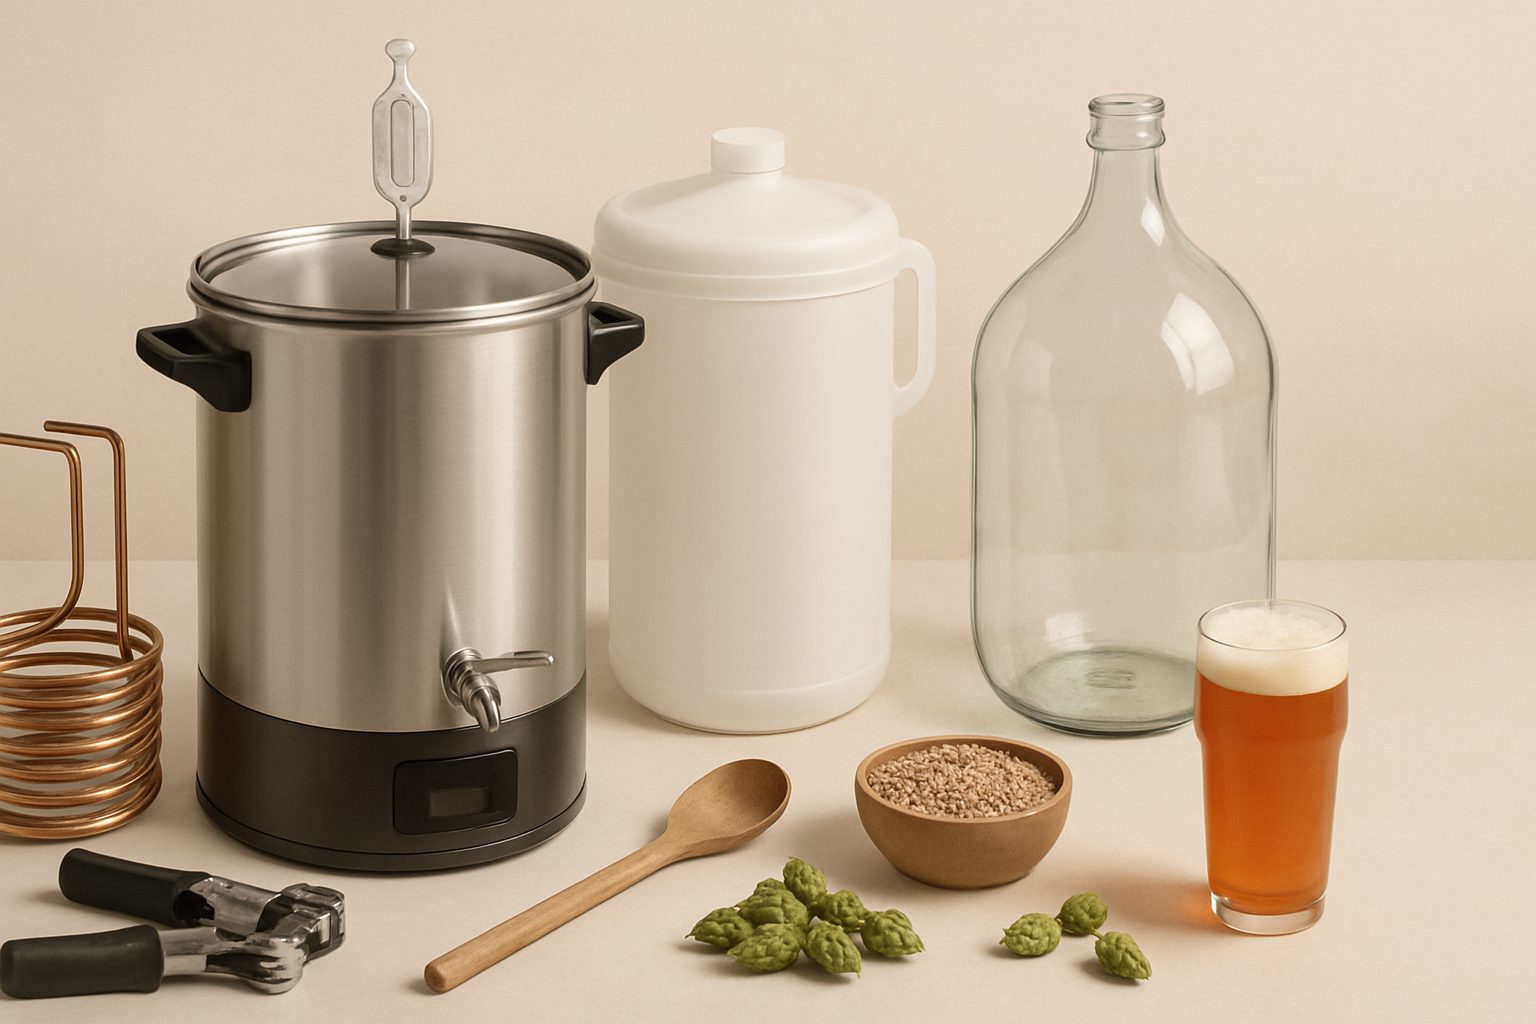
You don't need expensive specialist equipment. Most UK brewers start with:
- A large brew kettle (25–40 litre capacity, stainless steel ideal)
- A mash tun (insulated vessel to hold grain and water during mashing—a coolbox with a false bottom and tap works fine)
- A grain mill (to crack the grains; many homebrew shops will mill for free or a small fee)
- A thermometer (accurate to ±1°C)
- A hydrometer (to measure gravity and track fermentation)
- A lauter tun or lautering vessel (to separate wort from grain bed)
Many UK brewers use a false-bottom mash tun built from a 30-litre insulated coolbox, a stainless steel tube as a false bottom, and a simple ball valve. Cost: roughly £40–60. It works just as well as kit costing three times the price.
Step 1: Calculate Your Grist and Water Volumes
Before you start, work out how much grain you need and how much water. This depends on your target beer style and gravity.
A rough guide: malt contributes about 35–40 gravity points per kilogram per 23 litres of wort. So a 23-litre batch of pale ale aiming for OG 1.050 needs roughly 1.3 kg of grain. Your recipe software or a simple calculator online will give you the exact figure.
Water volume matters too. You need enough to dissolve the grain sugars and account for absorption. A standard rule: use 2.5–3 litres of water per kilogram of grain. So 3 kg of grain wants roughly 8–9 litres of strike water (the initial mash water).
Step 2: Mashing—The Core Process
Heat your strike water to roughly 12°C above your target mash temperature. Most pale ales mash at 65–67°C; stouts and darker beers at 68–72°C. Higher temperatures yield more body and residual sweetness; lower temperatures produce a drier, more fermentable beer.
Add your milled grain to the mash tun, then slowly pour in the strike water while stirring. Aim for a porridge-like consistency—roughly 2.5 litres of water per kilogram of grain. The grain will absorb water, so stir thoroughly to ensure no dry pockets.
Close the mash tun and let it rest. Most pale ales mash for 60 minutes at constant temperature. Stir every 15 minutes to prevent stratification. A well-insulated coolbox will hold temperature remarkably well; if it drops more than a degree or two, you're fine.
During the mash, the enzymes in the malt break down starches into fermentable sugars. This is what separates all-grain from extract—you're controlling this critical step yourself.
Step 3: Lautering—Separation and Runoff
After the mash, you've got a grain bed sitting in sugar-rich liquid (the wort). Now you separate them.
Run off the first litre of wort slowly into a jug. It'll be cloudy—that's grain husks and flour. Gently pour it back over the grain bed. This is your vorlauf, and it clarifies the wort. Repeat until the runoff runs clear (usually 2–3 cycles). Don't rush; this step prevents stuck sparges.
Open the tap on your mash tun and run the clear wort into your kettle. This is the hot wort runoff—the bulk of your sugar extraction. Aim for about 25–30 litres if you're brewing 23 litres of finished beer. Take your time; fast sparges can compact the grain bed and cause stuck runoffs.
Once the grain bed is nearly dry, you can gently rinse it with additional hot water (around 75–80°C)—this is your sparge. This final rinse picks up the last sugars. Stop when you've collected your target volume of wort.
Step 4: The Boil
Bring your wort to a rolling boil. Once boiling, add your bittering hops (typically 60 minutes before flame-out) to build bitterness that balances the malt sweetness. Add flavour hops at 15 minutes, and aroma hops at the end. A typical 60-minute boil is standard.
Chill the wort to around 20°C using an immersion chiller or ice bath, then pitch your yeast. Fermentation begins within 24–48 hours.
Common Beginner Mistakes
Rushing the mash rest costs you efficiency and flavour. Stick to 60 minutes. Temperature swings of 3–4°C won't ruin a batch, but consistency helps. Not milling grain finely enough is also common—the mill should crack, not crush. Crushed grain loses too much flour, which hurts extraction.
Next Steps
Your first all-grain batch teaches you the rhythm and feel of the process. Subsequent brews refine your technique. Keep notes on water volumes, temperatures, and timings—data is invaluable for improving consistency.
More options
- Grainfather G30 All-in-One Brewing System (Amazon UK)
- Brewzilla 35L All-in-One Electric Brewing System (Amazon UK)
- Home Brew Starter Kits (Amazon UK)
- Cornelius Keg & Home Draught Dispenser Systems (Amazon UK)
- Conical Fermenters & Fermentation Equipment (Amazon UK)